iTerm tips and zsh plugins for better development environment
iTerm ZSH productivityThis post is about the two tools I use regularly in my development environment: iTerm and oh-my-zsh. iTerm is a mac terminal replacement and zsh + oh-my-zsh is an excellent combo to replace the bash shell with some cool stuffs.

Here, we'll see how to achieve some productivity improvements by effectively using these tools.
iTerm #
As I said already, iTerm is a mac terminal replacement. It comes with ton of features missing in default terminal. Below, you will see some of them which made me choose iTerm.
Multiple tabs and split screens
Often we have to work with multiple terminals. iTerm support splitting the current terminal panes vertically/horizontally and adding any number of tabs. The shortcuts for splitting the terminal is CMD+D ( for vertical ) and CMD+SHIFT+D ( for horizontal ).
For adding a new tab, the shortcut is CMD + T ( same like your browser ).
Auto-complete menu
iTerm has a pretty cool drop-down menu for auto-completion. Press CMD+; from the terminal and you can see the autocomplete dropdown showing the completion.
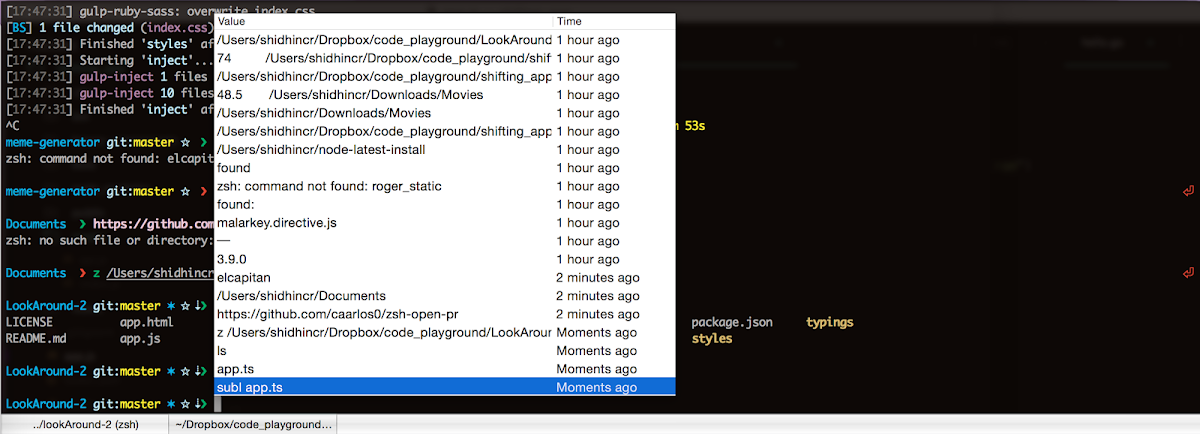
Show paste history
iTerm also keeps a buffer of the previous paste history. You can see the paste history in a dropdown menu by pressing the keys CMD+SHIFT+H
Find the cursor
Once you start working with multiple split panes and tabs, sometimes it's hard to find where your cursor is. Press the key combination CMD+/ and iTerm will highlight where your cursor is. Pretty smart, huh ?

Search all tabs ( aka Expose tabs )
This is another feature excites me when I have to work with so many tabs or panes. It is hard to move from one tab/pane to another pane when not sure where exactly it is. iTerm can expose all the tabs for you with the key combination CMD+OPTIONS+E and then you can search for the tab.

This is not the end; iTerm has lot of features, but this post is not enough for explaining all of them. For the complete set of iTerm features, check this link.
ZSH + Oh-My-ZSH #
Like iTerm, ZSH is the default bash shell replacement; and Oh-my-zsh is the framework built for configuring the zsh shell. It also provides extending the framework with custom plugins. This can be done by adding them into the .zshrc file.
From their documentation:
Let's say you if you want to add a plugin foobar to your configuration.
edit the ~/.zshrc file. then add to
plugins=(git bundler foobar)
I found some these oh-my-zsh plugins extremely useful in my daily tasks:
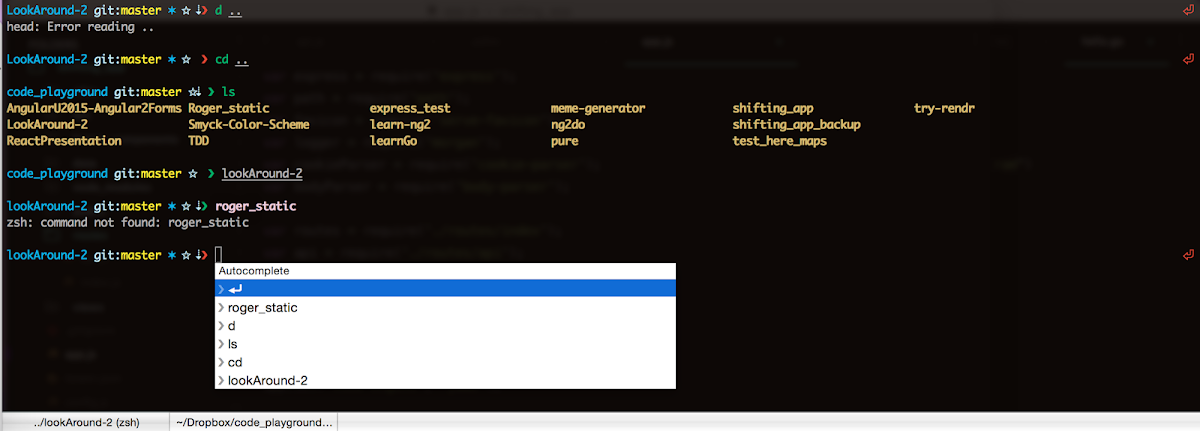
The Z plugin
One of my all time favourite plugin. The Z plugin remembers your navigation history in the terminal, and auto completes it for you next time. For example, after enabling the z plugin, if I do this:
cd ~/Dropbox/code_playground/LookAround
The z plugin remembers this navigation and the next time I just need to type the following and press TAB
z LookAround
See z in action:

The H plugin
The H plugin lists all your previous command history right there. Sometimes it is easy to see all of them and select the desired one. Enable the h plugin by adding it to the plugin section of .zshrc.
Then, type h in the command prompt and enter.
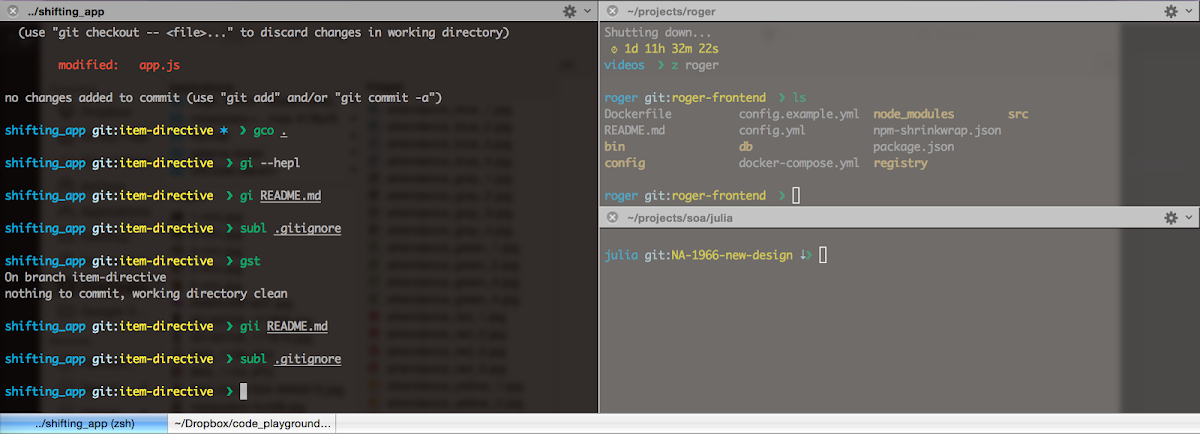
Git Plugin
This plugin provides a set of git aliases to oh-my-zsh. I use this a lot everyday and I think I might've forgotten the original git commands now :). Just kidding, this is a wonderful plugin that saves a lot of my time. See the below image to know how I usually work with these aliases.

I am sure that once you start using this plugin, you won't look back. You can find the complete zsh git cheatsheet here in this link
Zsh syntax highlighting plugin
Fish shell like syntax highlighting in your zsh shell. See any of the GIF images, you can observe that the command syntax color changes as when I type.
Read more : https://github.com/zsh-users/zsh-syntax-highlighting
Open PR from command line
I haven't played around with this plugin much. I included this because I think this might be useful to some of you.
https://github.com/caarlos0/zsh-open-pr
Basically, when you call open-pr, the function will verify if you are working on a fork (by convention, you have an upstream remote), then, it will open your browser in the correct URL so you can just hit the Create Pull Request button.
The take command
One of my favourite shortcut command provided by Oh-my-zsh. Basically, what the take command does is to create a directory and change the path to it. So instead of doing the following:
md someDirectory && cd someDirectory
I could just do:
take someDirectory
That's really nice !
Everything else: https://github.com/unixorn/awesome-zsh-plugins
Antigen for ZSH #
Antigen is a simple tool to manage the zsh environment. I recently started using Antigen and it seems a better option for installing plugins and all.
Antigen is a small set of functions that help you easily manage your shell (zsh) plugins, called bundles. The concept is pretty much the same as bundles in a typical vim+pathogen setup. Antigen is to zsh, what Vundle is to vim.
Find more about Antigen here: https://github.com/zsh-users/antigen.
Summary #
Effectively using tools saves a lot of time and improves productivity. I hope these tips are useful to you. Feedbacks are welcome.